
Setting up an outdoor camera with WD My Cloud storage feels like checking two big boxes at once: security and convenience. You want your footage safe, accessible, and—let’s be honest—not tied up in cloud storage subscriptions. That’s where My Cloud steps in. It pairs perfectly with many cameras to store your recordings locally without the hassle of monthly fees. Whether you’re monitoring your porch, backyard, or driveway, this setup ensures you can review and control your footage whenever you need it, without worrying if it’s floating out in someone else’s cloud.
Understanding Outdoor Cameras
Outdoor cameras are the silent sentinels of your home or business. They’re there to capture the moments you want (and the ones you don’t), whether it’s a friendly neighbor drop-off or a suspicious late-night lurker. If you’re pairing one with WD My Cloud storage, it’s like giving them a safe vault for everything they see. But before you dive in, it’s crucial to understand what types of outdoor cameras exist and which features should top your checklist.
Types of Outdoor Cameras
There’s a dizzying array of outdoor cameras on the market, but they generally fall into a few categories. Which one you choose depends on your needs and setup—whether you’re keeping it simple or going full-on home security fortress.
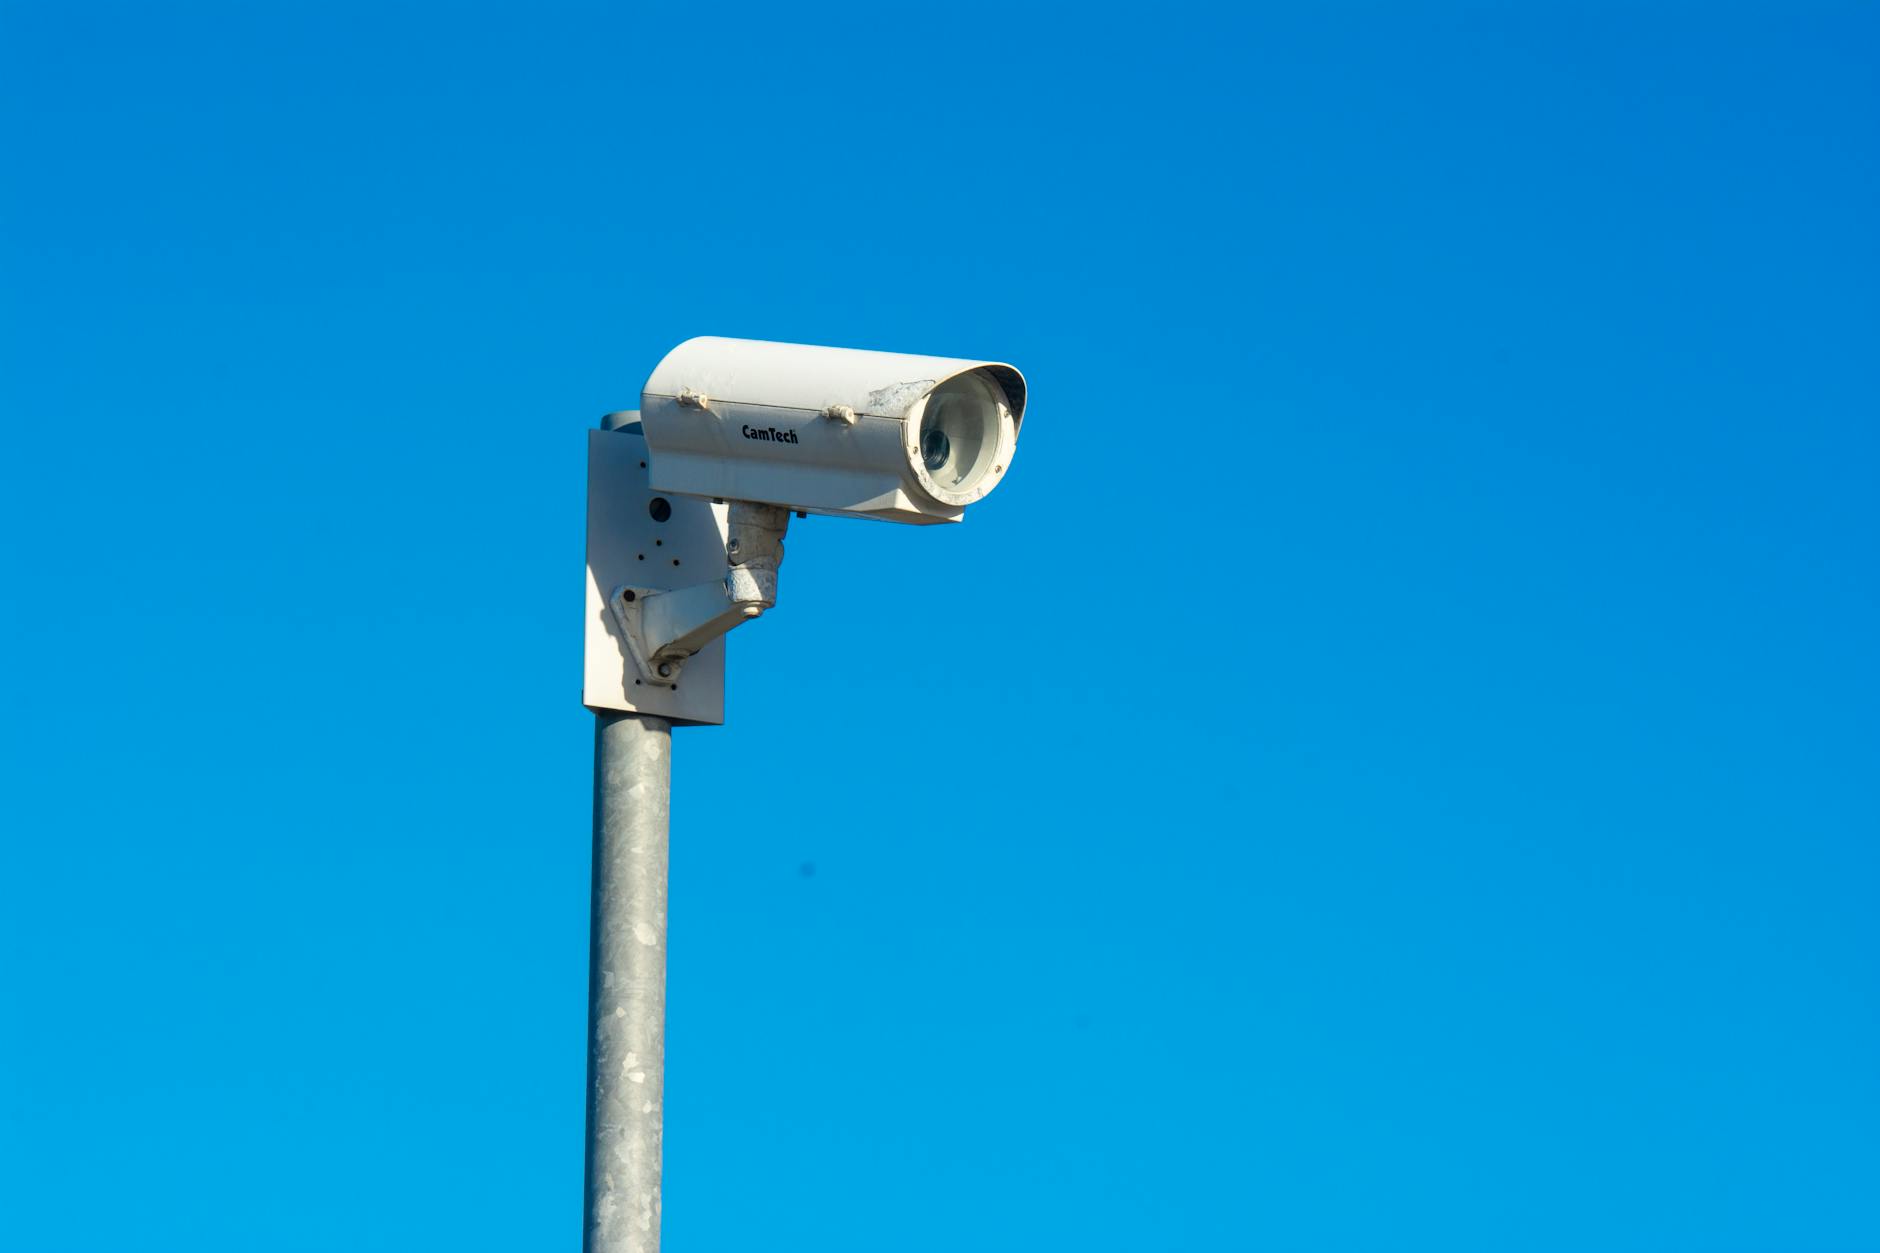
Photo by Jan van der Wolf
- Wired Cameras: These are your old-school, plug-into-the-wall type. They’re super reliable because they won’t lose power unless your house does. Perfect for areas where you want a steady setup.
- Wireless Cameras: They sound like the future, right? Wireless cameras connect to your network using Wi-Fi, which means fewer cords but relies on a strong signal to work seamlessly. They’re fantastic for those tricky spots far away from outlets.
- IP Cameras: Internet Protocol (IP) cameras are a smart choice when remote monitoring is a must. Using your internet connection, you can check exactly what your camera sees from anywhere in the world. Great for peace of mind when you’re out of town—or just paranoid about your backyard while you’re at work.
Each type has its specific strengths. If you’re unsure, it’s best to evaluate your property and think about how tech-savvy you want your setup to be. For a more detailed breakdown, check out Types of Security Cameras: A Complete Overview.
Key Features to Look For
Not every outdoor camera is built the same (and, let’s face it, some are just plain bad). You’ll want to weigh these key features before spending your hard-earned cash—and lodging them proudly on your eaves.
- Resolution: Think of it like TV shopping. A blurry feed is no use to anyone. Look for cameras that support at least 1080p HD or, better yet, 2K or 4K resolution for the sharpest image possible. Always consider what resolution you actually need based on where you plan to install it.
- Night Vision: Most “what’s-that-noise” moments come after dark. A camera with high-quality night vision will save you from blurry, useless footage. Many cameras even feature color night vision now, which feels like watching scary movie trailers, but live.
- Motion Detection: Why scroll through hours of quiet footage when you can let your camera alert you? Intelligent motion detection can even differentiate between people, pets, and inanimate objects (and yes, some ignore harmless tree shadows too).
- Weatherproofing: Since they sit outside, these cameras take a beating from all kinds of weather. Check for IP65 or higher ratings to ensure your camera can survive the rain, snow, or blazing sun.
- Remote Access: Pairing an outdoor camera with WD My Cloud storage makes remote monitoring accessible and easy. You’ll need this feature to check footage or manage the setup remotely without constantly unplugging stuff.
For a deeper look at essential features, this Ultimate Guide to Outdoor Security Cameras breaks it down like a pro.
Choosing the right outdoor camera involves figuring out what makes sense for your life without overcomplicating things. Whether you’re going wired or wireless, 1080p or laser-sharp 4K, it’s about finding a balance that works for your setup.
Overview of WD My Cloud Storage
When it comes to managing video footage from your outdoor camera, you need a reliable solution that’s both secure and convenient. That’s where WD My Cloud steps in. This personal cloud storage device lets you take control of your data, offering a seamless alternative to traditional options that rely on third-party servers.
Whether you’re tired of monthly fees or just uncomfortable with the idea of your data floating in someone else’s cloud, WD My Cloud allows you to store, access, and manage your files directly from the comfort of your home.
What is WD My Cloud?
Imagine having your own private cloud — that’s exactly what WD My Cloud offers. Unlike traditional cloud storage that relies on remote servers you’ll never see, this system gives you a physical device that connects directly to your home Wi-Fi. It acts as your secure hub for all your digital files, but with one distinct advantage: you stay in control.
The device itself is compact and straightforward. You plug it into your router, and voilà — your own private cloud is up and running. From there, it’s accessible via your devices no matter where you are, so you’re not tied to one location. The result? A cloud-like experience, but with everything stored safely in your home.
For a more technical breakdown of how WD My Cloud works, check out this detailed product overview.
Benefits of Using WD My Cloud
So, why choose WD My Cloud for your outdoor camera storage? It’s all about having control while still embracing ease. Let’s break it down:
- Enhanced Security: Your video footage stays in your hands, literally. Since the data is stored at home, you sidestep risks tied to third-party storage solutions. It’s encrypted and protected, minimizing exposure to hacks or breaches.
- No Subscription Fees: Unlike many mainstream cloud services, WD My Cloud is a one-time investment. That means no recurring costs eating into your budget over time — a major win for the wallet-conscious.
- Remote Access: Whether you’re on your couch or halfway across the world, WD My Cloud makes it easy to access your files. Using their user-friendly app or web interface, you can check footage or download clips without being at home.
- Massive Storage Capacity: Outdoor cameras can churn out hours of high-definition footage, and cloud providers often nickel-and-dime you for space. WD My Cloud offers options ranging from 2TB to 8TB, giving you room to grow without juggling multiple subscriptions. Learn more about their storage options here.
- User-Friendly Setup: You don’t need to be a tech genius to get started. Plug it into your router, go through the guided setup, and you’re good to go. The interface is designed to make accessing and managing files as simple as possible.
- Backup Flexibility: It’s not just for your camera. WD My Cloud can sync with your phones, tablets, or computers to back up all your important files. Think of it as your all-in-one digital safe.
Curious about how WD My Cloud compares to other systems? PCWorld called it a “better, more secure alternative to cloud storage” in this review. Whether you’re pairing it with an outdoor camera or using it for other purposes, it’s clear why users love the blend of practicality and control.
With WD My Cloud in your corner, you’re not just storing data; you’re protecting your peace of mind.
Integrating Outdoor Cameras with WD My Cloud
So, you’ve got your WD My Cloud storage, and now you’re wondering how to pair it with an outdoor camera. It’s like finding the perfect dance partner; they need to move in sync to keep everything smooth. The good news? Many outdoor cameras work beautifully with WD My Cloud. Whether you’re securing your front porch or watching over the garden, this pairing lets you store and manage footage on your terms.
Compatibility with Different Camera Models
Before picking out a camera, you need to know if it plays nicely with WD My Cloud. Thankfully, many reliable options are out there. Most IP cameras with ONVIF (Open Network Video Interface Forum) support can integrate seamlessly, making them a top choice for this setup. Here’s a shortlist of compatible brands and models that work well:
- TP-Link Tapo Series (e.g., C200, C310): These cameras are user-friendly, and they support integration for local storage. Learn more about user experiences on pairing Tapo cameras with WD My Cloud here.
- Reolink Cameras: Known for their quality, Reolink is a favorite for DIY security setups. With ONVIF compatibility, cameras like the Reolink E1 Outdoor work well.
- Amcrest: These cameras are reliable and versatile. They’ve been reported to work with My Cloud using FTP for video uploads.
- WD ReadyView Cameras: For a seamless experience, consider WD’s own line of surveillance cameras — they’re built to integrate directly with My Cloud. Check out more specs here.
- Hikvision and Dahua: Traditional brands like Hikvision often support advanced features like motion detection and FTP upload, making them a safe bet.
Every camera option has its unique features, so take some time to evaluate your security needs. Not all models will include advanced motion detection or audio recording, but they’ll still handle the basics of storing video on your My Cloud device. You can read about users’ discussions on camera setups with WD My Cloud here.
Setup Process
Setting up your outdoor camera with WD My Cloud isn’t complicated, but you do need to follow some specific steps to make sure everything runs smoothly. Here’s how you can get started:
- Connect the Camera to Your Network:
- Use Wi-Fi or an Ethernet cable, depending on whether your camera is wireless or wired. Make sure it’s online and operational.
- For IP cameras, access the camera’s web interface via its IP address to confirm connectivity.
- Set Up WD My Cloud:
- Plug your WD My Cloud into your router using an Ethernet cable.
- Go to My Cloud’s Setup Page and follow the guided instructions. You’ll need to create an account if you’re a first-time user.
- Enable FTP on WD My Cloud:
- Open the WD My Cloud dashboard by entering its local IP address in your browser.
- Navigate to Settings > Network > Network Services and enable FTP Access.
- Configure FTP on Your Camera:
- Access your camera’s settings through its web portal (often through its IP address).
- Go to the Storage settings and input your WD My Cloud FTP credentials:
- Server Address: The local IP of your WD My Cloud.
- Port: Typically 21.
- Username and Password: These are the same credentials you set up in your My Cloud dashboard.
- Test the Configuration:
- Perform a test to ensure the camera is uploading footage correctly. You should see video files or snapshots appearing in the assigned folder on your WD My Cloud.
- Organize Your Footage:
- Create folders on your My Cloud to help keep footage from multiple cameras tidy. Set up separate directories for different locations or timeframes.
- Optional: Set Up Alerts:
- If your camera supports motion detection, configure alerts to notify you when activity is detected. While WD My Cloud doesn’t handle alerting, your camera likely can.

Photo by Bruno Massao
And that’s it. Your outdoor camera is now working hand-in-hand with WD My Cloud, like peanut butter and jelly. By following these steps, you’ve turned your storage system into a reliable vault for all your outdoor footage. It’s worth the peace of mind to know you’ve got control over where your data lives.
Storing and Accessing Footage
When you’re using an outdoor camera with WD My Cloud storage, storing and accessing footage becomes as smooth as unlocking your phone with a tap. Knowing that your videos are stored securely, yet accessible anywhere, means peace of mind whether you’re home or away. Let’s look at how you can record footage and access it effortlessly.
Recording Options
Photo by Thomas Windisch
Your outdoor camera isn’t a one-size-fits-all solution when it comes to recording. Camera systems allow you to tailor how and when they capture footage based on your preferences and needs:
- Continuous Recording: Think of this as your camera’s “always-on” mode. It catches everything, 24/7, which is great if your camera covers busy areas like a driveway or main gate. Just be aware, this mode eats up more storage, so you’ll want a robust My Cloud storage option, like the 8TB model.
- Motion-Triggered Recording: Most people lean on this feature—it’s practical and efficient. The camera only records when motion is detected. This way, you save precious storage space and eliminate hours of watching uneventful footage. It’s like having a camera that nudges you when something actually happens. Many models, such as Hikvision or TP-Link Tapo, integrate well with My Cloud for this purpose. Learn more about camera compatibility here.
- Scheduled Recording: There are times when you know you only need coverage—for example, monitoring your yard every night between 9 PM and 6 AM. Thankfully, most cameras allow for customizable schedules. This balances storage use while ensuring that you don’t miss anything critical. And yes, this works seamlessly with My Cloud storage.
Each option has its merits, so mix and match as needed based on your My Cloud capacity and security priorities.
Accessing Footage Remotely
Convenience is where a WD My Cloud really shines. Accessing your footage on the go feels like magic, except it’s just smart tech paired with the right tools. Whether you’re at work or out of town, your files are a thumb tap away.
- From Mobile Devices: WD My Cloud has apps for iOS and Android that transform your phone into a portable control center. You can check your recordings, download clips, or even share them with friends. It’s perfect for those times when you’re waiting in line and remember, “Hey, I need to check if that package actually arrived yesterday!”
- Using Laptops or Desktops: For digging through extensive footage, your bigger screen is a lifesaver. Just log into the WD My Cloud web interface or use the My Cloud desktop app. It’s intuitive, and all your files are organized, so finding specific events is a breeze.
- Third-Party Streaming: Some users integrate My Cloud with third-party apps or software to view live feeds directly from their cameras. This can get a bit more technical, but it’s a game-changer for keeping tabs on things without logging into multiple platforms. A forum like this one can help you set it up.
There’s something reassuring about being able to access what you need when you need it. WD My Cloud ensures you’re not juggling subscriptions or worrying about your data floating in someone else’s server. With the right setup, it feels like your own personal security hub—one you can tap into anytime, anywhere.
Security Considerations
When managing outdoor cameras with WD My Cloud storage, security is everything. It’s not just about keeping prying eyes away from your footage; it’s about ensuring your setup is robust, private, and reliable. Let’s explore ways to protect your data and ensure your camera installation offers true peace of mind.
Protecting Your Data
Securing your WD My Cloud setup is just as important as installing the outdoor camera itself. After all, what’s the use of high-quality footage if unauthorized users can access it? You can think of it as locking your house—you wouldn’t leave the front door wide open, so don’t leave your data vulnerable either. Here are a few ways to keep your files safe:
- Use a Strong Password: This is your first line of defense. Avoid predictable passwords like “123456” or “admin.” Instead, combine uppercase letters, lowercase letters, numbers, and symbols. The longer and more complex, the better. Tools like password managers can help generate and store these for you.
- Enable Two-Factor Authentication (2FA): Most accounts allow this now, and it’s a game-changer for security. Even if someone guesses your password, they’d need access to your phone or email to log in. It’s an easy step that adds a layer of security.
- Keep Firmware Updated: Whether it’s your My Cloud device or outdoor camera, outdated firmware is like a skeleton key for hackers. Regular updates patch vulnerabilities and improve overall security.
- Use a Private Network for Cameras: Set up a separate guest network or VLAN for your outdoor cameras. This adds a wall between your home’s main internet traffic and the outdoor devices, limiting exposure to potential threats. Discussions on secure setups can help guide you here.
- Encrypt Data: Encryption scrambles your footage, making it nearly impossible for unauthorized users to view it. Many cloud systems, including WD My Cloud, come with built-in encryption options. Learn more about encryption practices here.
Keeping footage secure is like fortifying a home. The investments in time and effort are worth it when you’re confident that your data stays private and protected.
Best Practices for Camera Installation
How you install your camera can significantly impact its effectiveness. It’s easy to focus on technical features and forget the basics, but physical placement and configuration make a big difference in terms of security.
Photo by Shane Aldendorff
Key Installation Tips:
- Place Cameras Out of Reach:
- Install cameras high enough that they can’t be easily tampered with or stolen. Ideally, 8-10 feet off the ground works well.
- Avoid Obstructions:
- Keep the field of view clear of trees, plants, and decorations. Obstructions can make it hard to record important details like faces or license plates.
- Angle Smartly:
- Avoid pointing cameras at windows or shiny surfaces to prevent glare. Instead, focus on entry points like doors, driveways, or pathways.
- Use Weatherproof Housing:
- Even if a camera is rated for outdoor use, housing can add extra protection against severe weather. You’ll thank yourself during a storm.
- Enable Motion Detection Features:
- This reduces data usage and makes reviewing footage far less time-consuming. Test it a few times to ensure you’re not getting false alarms (like leaves blowing in the wind).
- Stay Discreet:
- While some people want cameras to be visible for deterrence, others prefer stealth. Consider blending smaller cameras against walls or using concealed designs.
- Ensure Proper Lighting:
- Poor lighting can create blind spots. Pair your cameras with long-lasting LED lights or outdoor motion detector lights for added clarity.
For more insights on outdoor camera placement, explore this comprehensive guide.
With a thoughtful approach to installation, your outdoor cameras can work smarter, not harder. By combining proper placement with technology like WD My Cloud, you’re creating a seamless, secure setup tailored to your needs.

